AOVs
AOVs
AOV setup in Houdini
RenderMan for Houdini exposes a powerful system of AOV creation called Light Pathエクスプレッション or LPE.
Users may specify a built-in LPE or a custom LPE for output. Below is an example of the ROP interface used for creating LPEs.
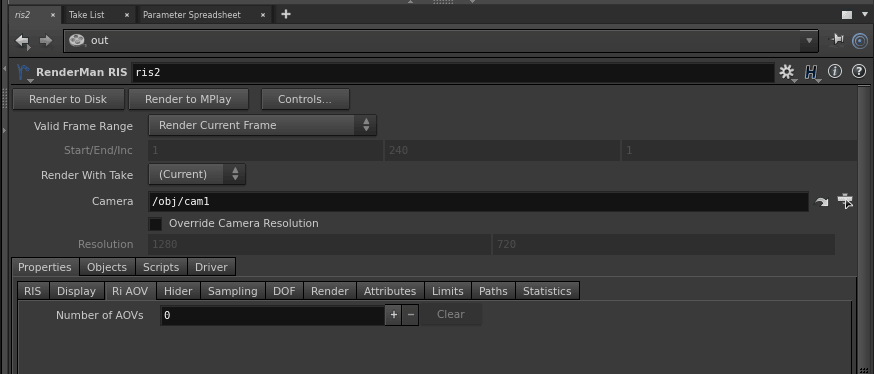
RIS LPE Interface

RIS LPE Empty
Below you can see two AOVs created using the built-in options for diffuse and specular output.
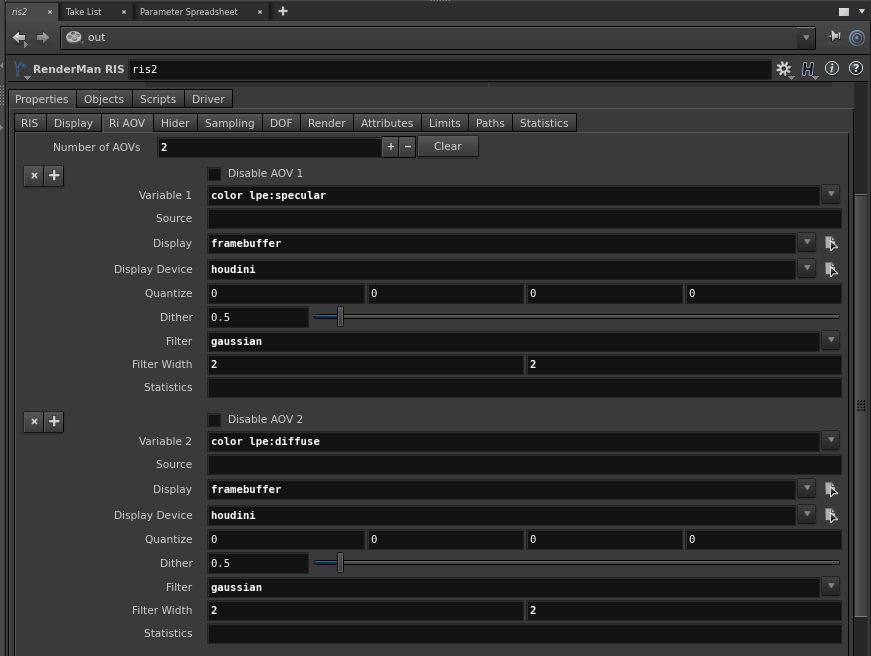
Built-in LPEs for diffuse and specular AOVs
If you have enabled the View Bar in Houdini, you will be able to see these AOVs in your framebuffer output.
To specify an AOV you should provide the following information to RenderMan:
- Variable - This field specifies the name and type of the AOV.
- Source - If using a built-in LPE you can leave this field empty. If not, then you must also provide the appropriate expression.
- Display - You can choose the Framebuffer device or a specific external EXR file.
- Display Device - Here you can specify the type of output. In the above example we're writing to the Houdini Display. You may also specify the EXR output to match the Display output.
- Quantize - You should use an EXR as your output, do not alter this setting.
- Dither - This is unecessary for floating point output such as an EXR.
- Filter - For color AOVs the recommended filter is Gaussian. Data AOVs should be unfiltered.
- Filter Width - As above, when using color AOVs, a filter width of 2 2 using Gaussian matches the default render settings.
- Statistics - This field is only used if you are specifying AOVs manually for Denoising.
Tip:
When creating AOVs and using denoise, you cannot create duplicate AOVs. For example: Denoise automatically creates a diffuse AOV. Adding another one will produce an error and fail to render correctly.